Do you want to become a better shooter? You’ll need a better technique than “point n’ shoot.”
Accurate shooting boils down to one thing: acquiring a good sight picture. If you don’t have a good sight picture, your shots won’t land where you want them to. However, if you can acquire a good sight picture quickly, you’ll be a significantly more effective shooter than most others at the range. You’ll also be better equipped to handle attackers in a self-defense situation that requires deadly force.
Whether you’re just now learning about sight picture or you’re already familiar with the concept, this post is for you. Let’s take a closer look at how to perfect your sight picture for fast, accurate shooting.
Understanding Sight Picture
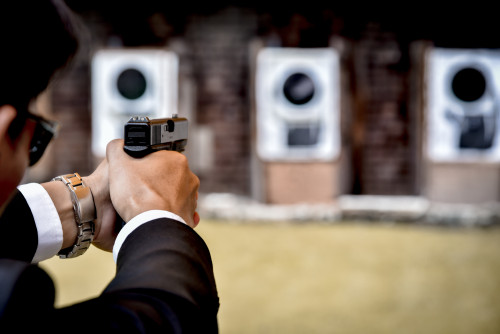
Sight picture is exactly what its name implies: the picture you get when looking down your sights. Regardless of the gun you’re shooting (Glock, revolver, etc.) sight picture is one of the most important components of accurate shooting (along with proper grip).
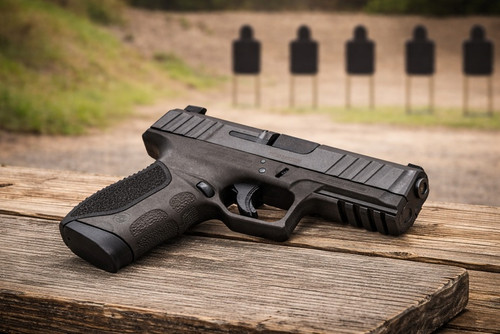
Acquiring a sight picture primarily involves sight alignment. Nearly every iron sight consists of a front post and rear notch. When you aim, you need to align these, otherwise you won’t shoot straight. Even slight variations in sight alignment can drastically change your point of aim, especially for far-away targets.
Even if you shift your attention to something other than your sight picture (say, on another threat in a self-defense scenario) your focus should rarely leave your sight picture. If it does, you need to re-acquire your sight picture quickly.
Components of Sight Picture
There are three basic components to sight picture: the front sight, the rear sight, and the target. You’ll need to position them all correctly and devote your attention to the right place to shoot accurately.
The Front Sight
This is usually a single blade or post at the front end of the firearm. Some front sights will also include blades on either side of the central post to assist in quick target acquisition. For a proper sight picture, focus your vision on the front sight, making it sharp and clear.
The Rear Sight
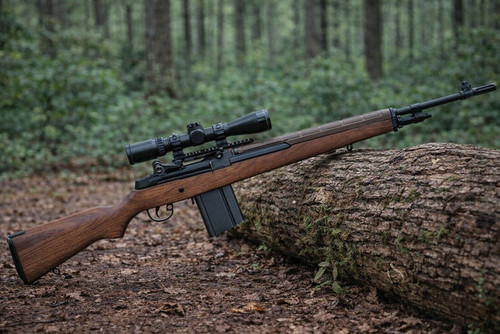
This is usually a “V-” or “U-” shaped notch further back on the firearm. Some firearms (notably rifles) will feature an aperture, or “ghost ring” to look through to see the front post. With a proper sight picture, the rear sight should be blurry in your vision.
NOTE: Shooting a handgun means working with a shorter sight radius than a rifle provides. Sight radius is the distance from a rear sight to a front sight. The longer the sight radius, the easier it is to make accurate shots, so it’s critically important to have a good sight picture when shooting a handgun.
The Target
The final component of your sight picture is your target. Like the rear sight, don’t focus your vision on your target. Instead, it should be blurry. This may seem counter-intuitive, but by focusing on the front sight post, you’ll acquire the best overall sight picture.
That said, there are some schools of thought that teach target-focus as an effective method for sight picture, but it all depends on your type of shooting. Focusing on the front sight is the traditional method derived from bullseye shooting with iron sights.
As always, be sure of your target and what’s behind it, even if you’re sure the bullet won’t pass through it. You never know.
Iron Sights vs Red Dots
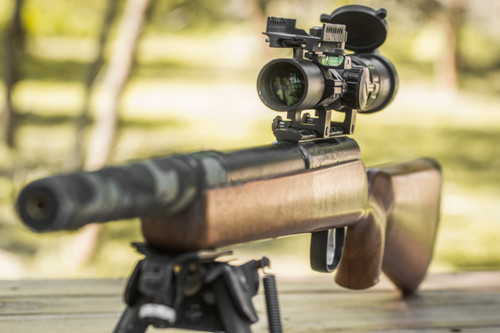
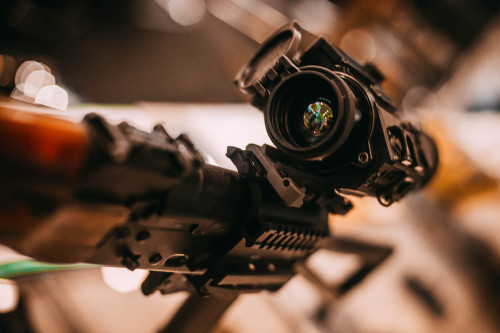
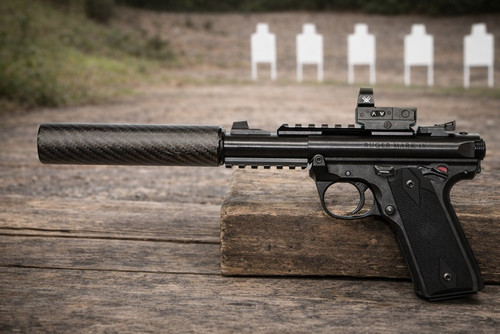
Manual sight picture is really only relevant when shooting with iron sights. When you’re using a red dot or some other kind of scope, you have an effectively infinite sight radius. When using an optic, you’ll focus your vision on your point of aim (like a reticle) instead of the rear sight. Then, position your point of aim over your target to complete the sight picture.
Types of Sight Pictures
Believe it or not, there is more than one type of sight picture — and not all are created equal. Much like everything in firearms training, you’ll choose which sight picture to acquire depending on the goals you want to achieve. Here’s a look at a few methods:
- Flash Sight Picture - You don’t always have time to carefully align your sights before pulling the trigger. That’s when a flash sight picture can save your skin. A flash sight picture involves quickly acquiring a momentary sight alignment and pressing through the trigger in one smooth motion. This is best for situations where you need to rapidly fire, which makes it an effective method for many self-defense scenarios.
- Open Sight Picture - Here you maximize your situational awareness while maintaining a proper sight picture. It’s useful when tracking multiple targets, moving targets, or when you need to stay alert to a potential target.
- Aligned Sight Picture - In contrast to a flash sight picture, an aligned sight picture involves deliberate and precise aiming. Here you focus on completely lining up your sight radius. This is most useful when you’re trying to pull off a long-distance shot or if you need to hit a small target.
Sight Alignment Techniques
When you want to improve your shooting, the answer is always technique. But it’s hard to worry about technique when a goblin is charging at you in a dark alley or multiple assailants are breaking into your home. This is where training comes into play. Anything that isn’t part of your muscle memory, you can expect to fail under stress.
Slow, deliberate practice at acquiring a sight picture will eventually translate into speed. Add these techniques into your dry fire or range training regimen to ensure you gain a sight picture quickly and accurately every time.
Precision in Sight Alignment
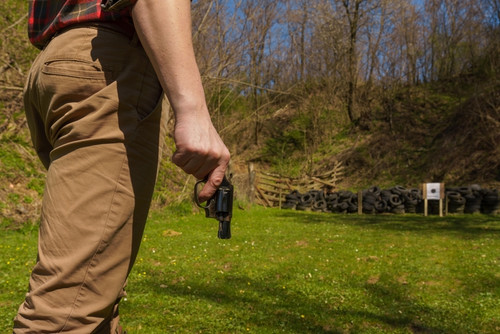
Your front and rear sights are two parts of a whole, and one is useless without the other. Aligning them properly is critical, so train until it’s a reflex. To practice, begin with your gun in your hand hanging down by your side. Then, bring it up in front of you and acquire your sight picture.
Top of Front Sight and Rear Sight
Aligning your sights doesn’t mean just horizontally. They also need to be aligned vertically. With normal pistol sights, the top of the front post should form a line with the sides of the rear notch. Don’t have the front post above or below the rear notches — it should be completely level.
Without your front and rear sights at the same height, your shots will either land low or high (depending on whether the front sight peeks out above the rear sight). This is a common problem for newer shooters, but you can train it out with practice.
Adjustments for Handguns
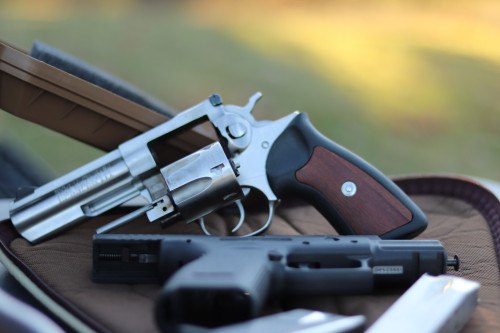
Like we mentioned above, handguns have a shorter sight radius than rifles, so any adjustment you make with a handgun will have a much bigger impact on where your bullet ends up. Many handguns have extremely narrow sights to help compensate for this. Revolvers like the Smith & Wesson Model 686 are a great example, and it features an orange front sight to make it really stand out.
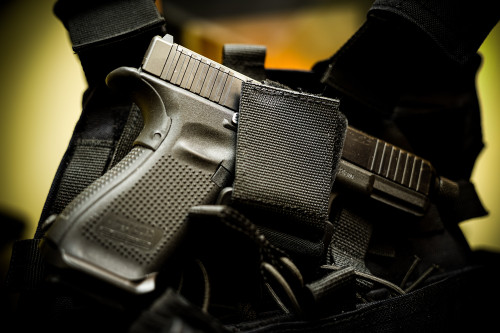
Glocks, on the other hand, have a loosey-goosey sight picture with factory irons. This can make acquiring a sight picture easier, but what you gain in speed you lose in precision.
Focus on Front Sight
We cannot emphasize this enough: remember that your focus should be on your front sight. Your rear sight and target will be a little fuzzy in your vision, but that’s okay. When you’re first learning how to acquire a sight picture, do it slowly and pay special attention to focusing on your front sight. Eventually, it will become second nature.
Sight Picture Consistency
You want the exact same sight picture every time you pull the trigger, and the only way you can do so is with practice. Dry fire training is a great help and can also train out other bad habits like anticipating recoil.
Eyes and Shooting Position
Before you even begin to think about aiming properly, you need to know which is your “dominant eye.”
To determine this, follow these steps:
- Focus on a faraway object with both eyes opened.
- Then, close your left eye.
- If your vision doesn’t shift, you’re right-eye dominant.
- If your vision does shift, you’re left-eye dominant.
Most humans on planet Earth are right-eye dominant.
The vast majority of people (especially newbies – will close one eye to shoot down iron sights. However, you can actually keep both eyes open with enough training. This will help you be more aware of your surroundings as you shoot, and improve your target acquisition time.
Target Focus
Target focus is a related concept to sight picture. While sight picture refers to the image you see when looking down your sights, target focus involves what you’re paying attention to. You have to practice shifting your attention rapidly between your sight picture and your targets to maintain maximum situational awareness while simultaneously popping off accurate shots.
Center Hold vs. Six O’Clock Hold
Who ever said you have to align your sights a certain way? (We did — but there’s actually some variation here in how you hold them on the target). Which one you use may vary depending on the specific caliber you’re using, as well as what you are comfortable with.
- Center Hold - Here you align your sights completely straight. Your shots will be very precise at any range, but your center sight will be covering up your actual target. Center hold is easy to learn, and you can acquire a sight picture quickly with this hold.
- Six o’Clock Hold - Here you aim slightly low. Your rear sight notches will be slightly above your front sight post. You’ll visually see your target, but your shots will land low. This hold takes more practice and accuracy can vary greatly depending on your distance from the target.
The ideal choice here is also based on the sight design. Different sight heights are used for different applications, and the variations between the height of the front over the rear (or vice versa), will determine the proper hold to put you on target. All things considered, most sight designs encourage the center hold ideology.
Intended Target vs Threat Focus
If you’re ever in a self-defense scenario, don’t just focus on your sight picture and start blasting. One of the core tenants of firearms safety is being aware of your target and what’s behind it. You can’t do that if you’re only focusing on acquiring the right sight picture.
Threat focus involves paying attention to and identifying a threat, then bringing up your gun and aiming down your sights as a reflex. This takes a lot of practice, but it’s how a trained professional approaches a gunfight.
Final Thoughts
Mastering your sight picture isn’t easy, and it will change depending on the gun you’re using, so practice with each of your firearms to perfect your accuracy. Fortunately, the more you practice, the quicker you’ll pick up a good sight picture and accurately sling lead downrange.
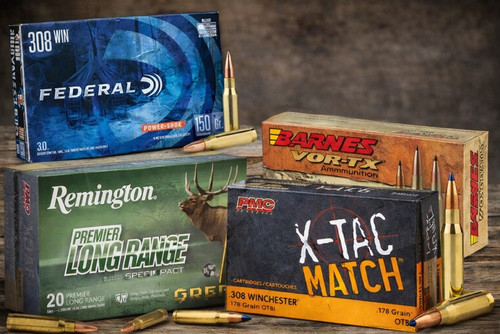
All that practice will definitely require some ammo. Luckily, ProArmory has you covered. As a veteran-operated company, we like to keep your guns fed and happy. Browse our store to stock up on your favorite calibers or snag a red dot to make aiming easier.
Want access to advanced shooting techniques and target engagement tactics? Pro Armory offers online training with professional shooters to help you become more safe and proficient with your firearm of choice. Sign up for our newsletter to be notified when training officially launches.


