


If you’re a beginner or even a moderately experienced shooter, you may notice that some of your shots end up wide of your target. You may think, “No big deal. After all, nobody’s a perfect shooter.”
But that’s where you’re wrong. Competitive shooters need to nail every shot they take — one miss could mean the difference between victory and defeat.
While you might not be competing at the level of Jerry Miculek, you probably want to be more sure of where your shots will land. To boost your accuracy toward a professional skill level, you need a drill that pushes you to be better.
Enter the Dot Torture Drill. As one of the hallmarks of firearms training, this drill demands nothing short of perfection. While it’s definitely difficult, it absolutely will make you a better shooter. Let’s take a look at the Dot Torture Drill, how to practice it, and how it can help you improve your pistol marksmanship.
(Source: https://www.walmart.com/ip/EZ2C-Targets-Style-17-25-Count-Dot-Torture-Training-Shooting-Drill/38572584)
What Is the Dot Torture Drill?
The basic idea of the Dot Torture Drill is to fire 50 rounds at 10 different dot targets. Each dot is 2 inches in diameter. Yes, this is as hard as it sounds.
A pistolero named David Blinder came up with the idea for the Dot Torture Drill. The main idea behind the drill is the age-old adage of “aim small, miss small.” If you train by shooting at small targets, it’ll be much easier for you to hit larger targets reflexively in a competition or self-defense scenario.
The goal of the Dot Torture Drill is to master control of your trigger. That means squeezing the trigger with your finger while keeping the rest of your hand perfectly still. Even small errors in your trigger pull can lead to big changes in your point of impact. To shoot accurately at any range, you need to eliminate these errors.
How To Pass the Dot Torture Drill
Here’s the toughest thing about the Dot Torture Drill: it’s a pass-or-fail exercise. If you miss even a single shot, you fail the drill. But this trains you to make every shot with resolution. No room here for the wishy-washy!
But don’t let this trap you in your own head. If you miss a shot, don’t restart in a huff. Instead, accept you’re not perfect and continue with the drill. After all, if you were in a competition or a real life self-defense scenario, you wouldn’t have the luxury of throwing up your hands and telling everyone to sit tight while you start over.
Finish the drill, then you can judge your results and reflect on your performance once the round is over.
Benefits of Practicing the Dot Torture Drill
Practicing the Dot Torture Drill will help with several shooting skills, including:
- Improving accuracy
- Changing target focus
- Mastering trigger pull
- Increasing reload speed
- Decreasing draw time
- Improving drawing and re-holstering
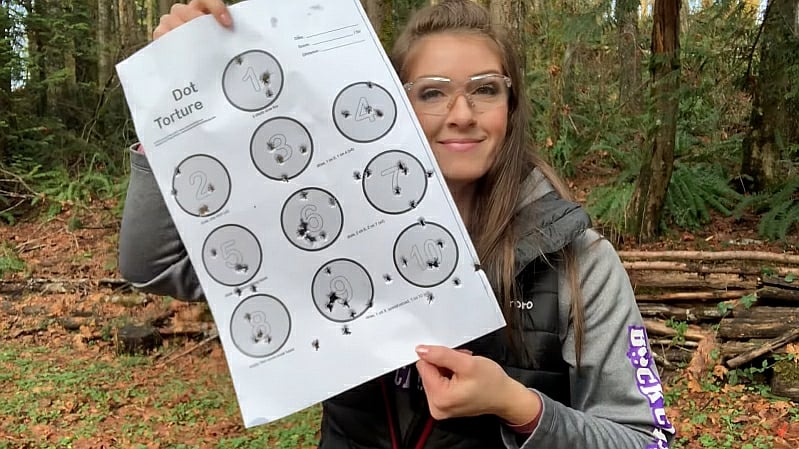
(Source: https://gunmagwarehouse.com/blog/dot-torture-girls-with-guns/)
How to Execute the Dot Torture Drill Exactly
Now that the theory is clear, let’s put this hellish drill into practice. Here’s the equipment you’ll need and the steps you’ll take to execute the Dot Torture Drill.
Equipment
One great advantage of the Dot Torture Drill is that it doesn’t require any special gear. All you need are these items:
- Handgun - A revolver or a semi-auto like a Glock. We recommend calibers like 9mm or .40 S&W, although you can step it to .357 magnum or 10mm, too.
- Spare magazine - Always keep extra mags on you, especially for this drill (which requires a ton of ammo). You can use a speed loader for revolvers.
- 50 rounds of ammo - We recommend FMJ for range use and brass casings for any gun that’s not an AK. Don’t blow your budget on this ammo either. You’ll be using a lot of it, so moderate quality brass cased pinkling rounds should do the trick.
- Holster - Preferably, you want a Kydex, custom-fitted holster for your specific handgun. However, a decent leather holster will also work. Just don’t mess around with those flimsy nylon ones that make it hard to draw your gun.
- Dot targets - Simple targets with multiple 2-inch dots on them (like these). Printer paper is fine — no need for steel renditions.
- Ear and eye protection - It’s a drill. You don’t get points for being careless. Do yourself a favor and protect your ears and eyes from gunshots.
Setup
You can pretty much do the Dot Torture Drill anywhere. Whether you shoot in an outdoor range or you’re relegated to an indoor range in a city, you can still run this drill.
First, print out some dot targets on a piece of paper. If you’re at an indoor range, clip them to the target retriever, and set them at 3 yards. Then, you’re ready to go!
Execution
Now it’s time to start shooting. As we mentioned earlier, the Dot Torture Drill involves shooting at a series of dots on a target. Each dot is 2 inches in diameter. Fire at each dot as follows:
- Dot 1: Draw from a holster and fire 5 rounds.
- Dot 2: Draw from a holster and fire a single round at the dot. Re-holser. Repeat 4 times (5 total rounds).
- Dots 3 and 4: Draw from a holster and fire once at each dot. Re-holster. Repeat 3 times (8 total rounds).
- Dot 5: Draw from a holster using only your strong hand and fire. Repeat 4 times (5 total rounds).
- Dots 6 and 7: Draw from a holster and fire a controlled pair (two shots in succession) at each dot. Repeat 3 times (16 total rounds).
- Dot 8: Using your support (weak) hand, fire 5 rounds. Do not draw for Dot 8.
- Dots 9 and 10: Draw from a holster, fire at dot 9, reload, then fire at round 10. Re-holster. Repeat 2 times (6 total rounds).
Once you can hit all 10 dots with 50 rounds (a perfect score), you can advance. Increasing the distance between you and the target in 2-yard increments is a great way to step up the difficulty. You can also add a 5-minute or 3-minute time limit. Both add an extra element of difficulty to an already grueling task.
TIP: Slow Down
One of the main mistakes we see shooters make with any drill (not just the Dot Torture Drill) is sacrificing accuracy for speed. But remember: slow is smooth and smooth is fast. Who cares if you finish the drill in record time if you don’t score 100%?
Instead of rushing through the Dot Torture Drill, focus on your fundamentals. You won’t get any bonus points for finishing first — in fact, you may end up blowing the entire drill.
Especially when you’re first learning the Dot Torture Drill, don’t worry about doing it quickly. Keep your pace slow and take each shot carefully and precisely. Focus on your grip, stance, sight picture, and recoil management. That will allow you to deliver accurate, on-target shots each time you pull the trigger. Once you can smoothly run the drill, speed will come naturally.
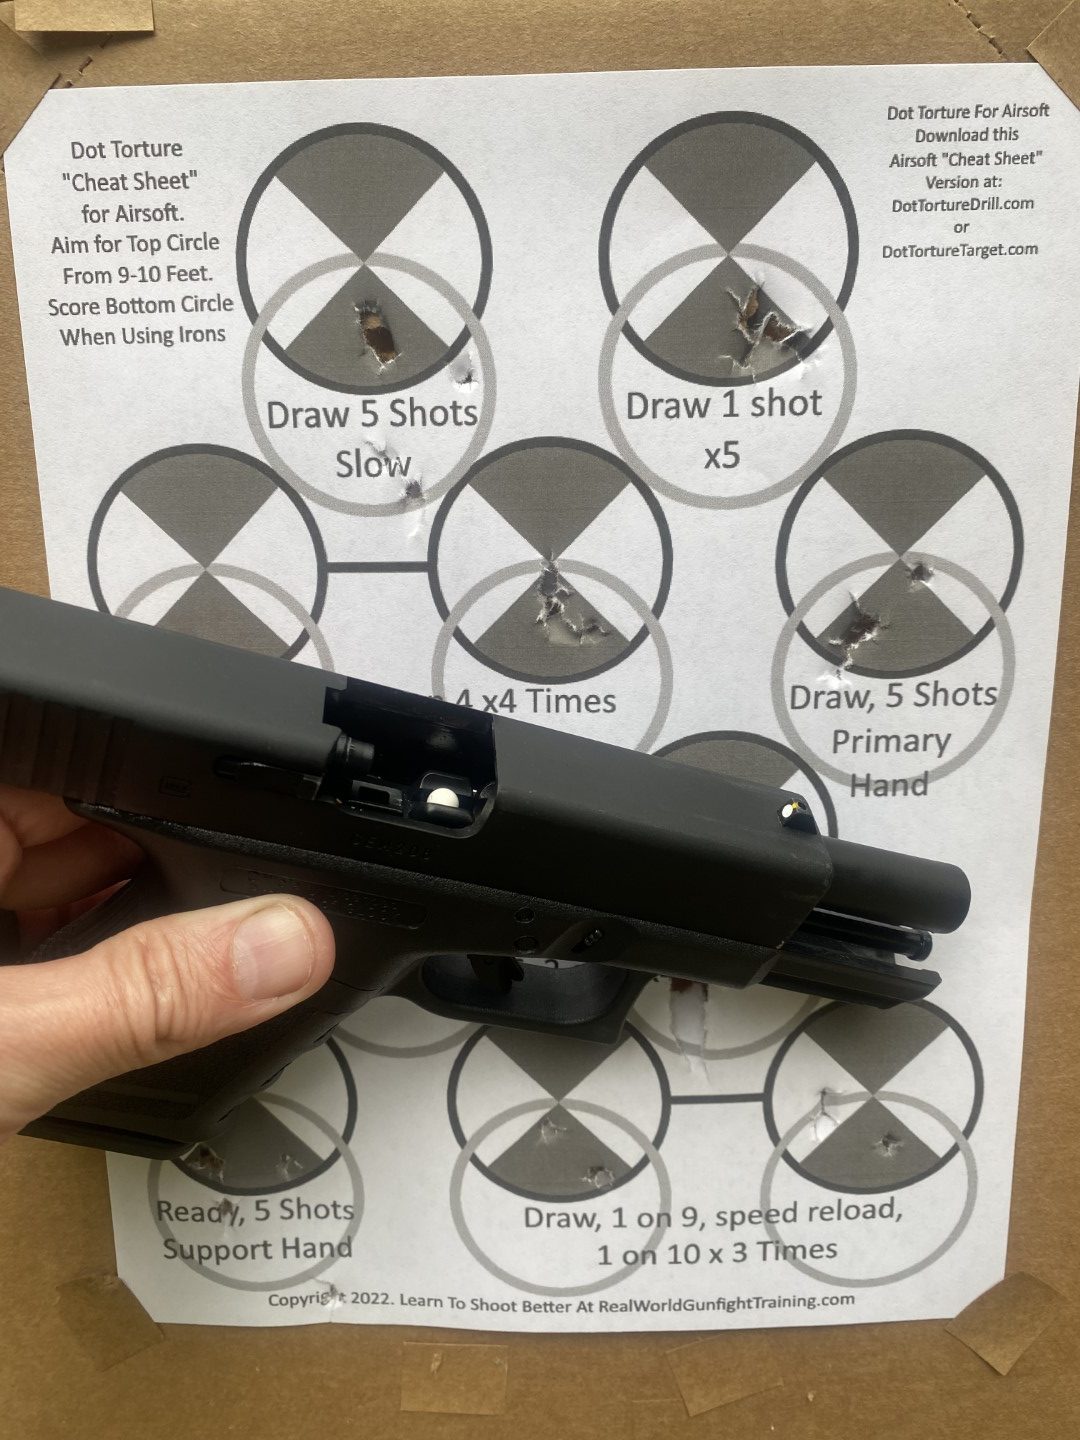
(Source: https://dryfiretrainingcards.com/blog/dot-torture-drill-airsoft-challenge/)
Variations for This Drill
While the Dot Torture Drill is fairly standardized, you don’t need to run the same drill every time. You can toss a few variations into the mix.
From Low Ready
One of the biggest Dot Torture Drill variables involves holstering your gun. Many shooting ranges won’t allow you to draw from a holster and fire under any circumstances. Some will allow it, but only if you’re friends with the owners or have taken a shooting class. In any case, you don’t always need to draw from a holster to run the Dot Torture Drill (although it’s always preferable).
If you don’t have the option to draw, you can begin in a low ready position. This means you’re holding your firearm so that it points in a safe direction, but you’re not aiming down your sights. While this variation won’t allow you to practice drawing from a holster, it’ll still force you to acquire a sight picture before shooting.
Dot Distance
Regardless of whether you shoot the Dot Torture Drill at 3 yards, 7 yards, or beyond, the dot should be the same size: 2 inches in diameter. As you begin shooting targets from farther away, you’ll see how difficult this can be. The further away your target, the smaller the dots will appear. That’s a feature, not a bug!
Final Thoughts
The Dot Torture Drill isn’t the perfect shooting drill. It won’t help you improve every skill. But if you can pull it off, it’ll be a testament to your personal skill as a marksman. It may be frustrating at first, but mastering the Dot Torture Drill absolutely will make you a better shooter.
Start slow and work your way up. Before you know it, you’ll be ready to compete with the best of the best — and be more prepared for any situation that requires a firearm. But first you have to get out there and torture yourself!
When you start running the Dot Torture Drill, chances are you’re going to fail — a lot. With 50 rounds per drill, you’ll need more than a small box of plinking ammo to train like this. But don’t just buy a bunch of 20-round boxes at full market price! If you drop too much money on ammo, then you won’t be able to train anymore (sad day).
Get more bang for your buck when you buy in bulk from Pro Armory. We’ve got savings on bulk ammo in just about every handgun caliber you need — from reputable brands you can afford.
Ready to learn more drills to improve your handgun shooting skills? Pro Armory also offers online training to help you become more proficient with your firearm of choice. Learn safety, tactical maneuvers, and more from veterans and professional shooters. Sign up for our newsletter today to be notified when training officially launches.

Best Ammo Deals, Training, & Accessories
Subscribe to ProArmory sales and deals email.


")
")


 for Faster Split Times")