


 Pro Armory Editorial Team
Quick Answer
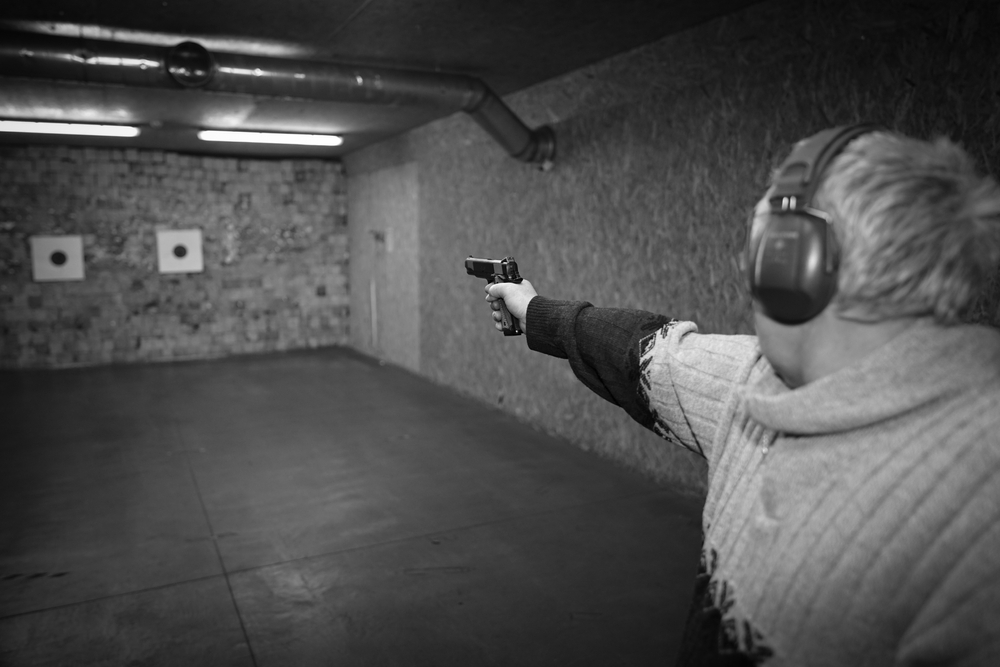
These 12 shooting drills build real skill fast. You'll work on safer gun handling, better accuracy, faster follow-up shots, cleaner reloads, smarter target transitions, and confident malfunction clearing. Train pistol, rifle, and shotgun with a simple plan: start with fundamentals, add time pressure, then add movement only if your range allows it. Track results with a shot timer and consistent targets so every session shows real improvement.
Key Takeaways
- Train fundamentals first, then add speed, then add movement.
- Use a shot timer to measure progress, not ego.
- Keep round counts low and repeat drills for clean reps.
- Build platform-specific skills: pistol draw, rifle cadence, shotgun reloads.
- Prioritize safety and range rules before adding complexity.
- Record times and hits to improve week to week.
Most people improve in bursts, not overnight. In training environments that mirror professional instruction, the biggest gains come from simple drills repeated with intent—clean reps, clear standards, and honest tracking. The drills below work on common ranges, build defensive-relevant skills, and scale from beginner to advanced without requiring a special facility.
Can you attend a defensive firearms course every month? Most people can't. So what do you do in between classes? Drills. These twelve are chosen for exactly that reason.
How to Use This List (So the Drills Actually Make You Better)
Pick four drills per session. One fundamentals drill, one accuracy-under-speed drill, one transition or reload drill, and one platform-specific drill for rifle cadence or shotgun loading. Run each drill for three to five clean iterations. Track two numbers every time—time and hits. Time comes from your shot timer or stopwatch. Hits come from your scoring zone, dot hits, or a pass/fail standard you set before the session starts.
Increase difficulty only one way at a time. A faster par time OR a smaller target OR a farther distance—not all three at once. Stack too much together and your reps go sloppy. Sloppy reps build bad habits, not better skills.
Safety and Range Setup Checklist
Before you load a single round, run through this list:
- Wear standard PPE—eye and ear protection—every single time.
- Follow all range rules, no exceptions.
- Use approved targets and keep your muzzle in a safe direction at all times.
- If your range doesn't allow movement drills, run them from a static position and save footwork for dry practice at home.
- Use snap caps or dummy rounds for malfunction practice where your range allows it.
- Start slow. Add speed only after your accuracy is consistent.
Gear That Makes These Drills More Effective
You don't need a lot of gear to get real results. A few key items make a big difference though.
A shot timer is the most important tool here. Without it, you're just guessing at your speed. With it, you get honest data on every rep. Timer apps exist too—they're not as accurate as a dedicated unit, but they're better than nothing. Beyond that, you need practical targets with clear scoring zones, snap caps or dummy rounds for malfunction drills, and a simple way to track your notes. A phone, a range notebook, or a basic scorecard all work fine.
Quick Drill Selector
| Drill | Best For | Platform | Primary Skill |
|---|---|---|---|
| Trigger Control and Grip | Beginners to advanced | Pistol / Rifle | Fundamentals and clean trigger press |
| Dot Torture | All levels | Pistol | Precision and consistency |
| Failure to Stop (Mozambique) | Defensive focus | Pistol / Rifle | Fast center-mass hits with precision headshot follow-up |
| Box Drill | Intermediate+ | Pistol / Rifle | Target transitions and precision |
| El Presidente | Intermediate+ | Pistol | Draw, transitions, and reloads under time |
| One-Handed Shooting | Intermediate+ | Pistol | Control and emergency capability |
| Malfunction Clearing | All levels | Pistol / Rifle / Shotgun | Restoring function quickly |
| 1 to 5 Drill | Intermediate+ | Rifle | Cadence, target order, and recoil control |
| Sage Dynamics Eleanor | Intermediate+ | Pistol / Rifle optics | Speed and precision with height-over-bore awareness |
| Shooting and Moving | Advanced | Rifle | Movement, footwork, and accuracy |
| Shotgun Casino | Intermediate+ | Shotgun | Reloading under time and target transitions |
| Shoot Two – Load Two | All levels | Shotgun | Sustainment loading and repetition |
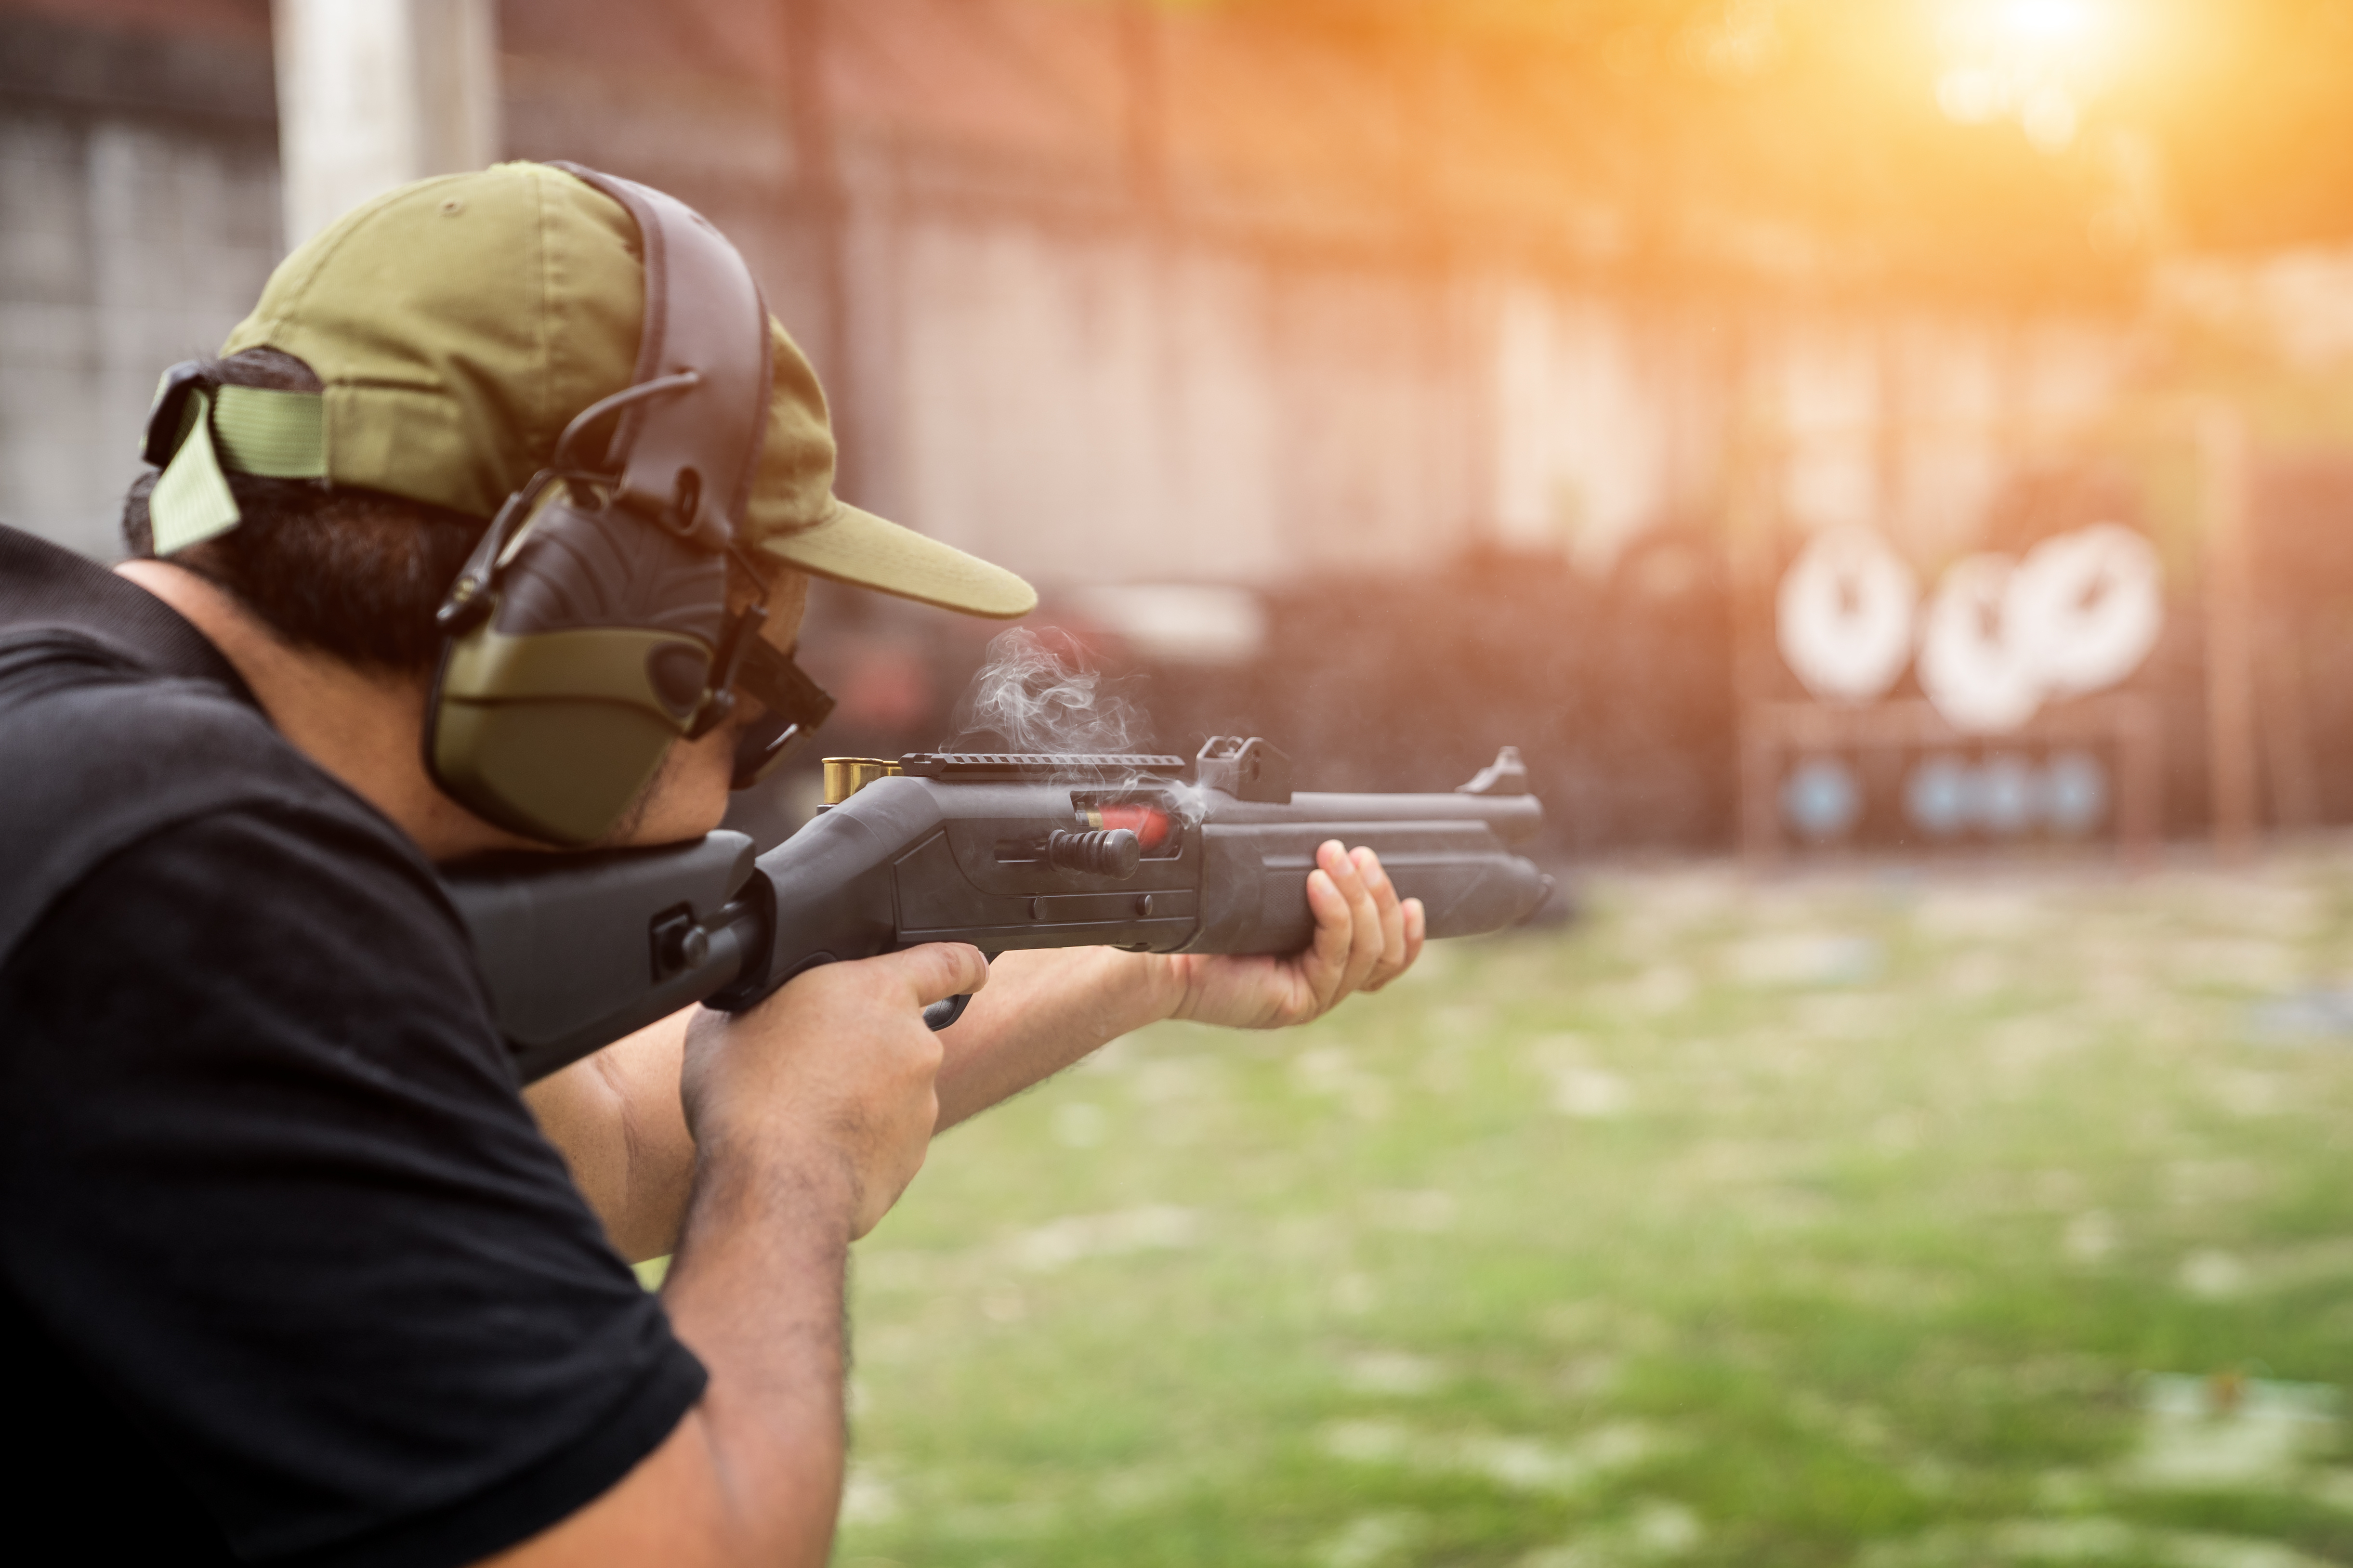
12 Best Shooting Drills for Pistol, Rifle, and Shotgun
Drill 1: Trigger Control and Grip Drill (Foundation Builder)
This drill is the starting point for everyone. It doesn't matter how advanced you get—coming back to clean trigger press and a stable grip will always pay off. Set your target at about five yards and aim deliberately. Press the trigger straight back with no jerking motion. Keep your grip stable and your sight picture consistent from shot to shot. The goal isn't speed here. It's about repeating the exact same motion every single time, until it becomes automatic.
What it builds:
- Smooth trigger press
- Stable grip and sight alignment
Make it harder:
- Use a smaller aim point
- Add a par time only after groups are consistent
Common mistakes:
- Slapping the trigger
- Shifting grip pressure mid-shot
Drill 2: Dot Torture Drill (Precision Under Discipline)
This one looks easy on paper. It isn't. Dot Torture is a structured 50-round drill built around ten small circles, usually run at about 3 yards to start. It mixes slow fire, draws, transitions, strong-hand-only work, weak-hand-only work, and a reload sequence. The point is not just to hit dots, but to maintain discipline across a full sequence without letting small errors stack up. Score it honestly or the drill loses its value entirely. Even experienced shooters get humbled by it on a bad day.
What it builds:
- Accuracy, patience, and consistency
- Clean trigger control under repetition
Make it harder:
- Move the target back by one or two yards
- Reduce dot size or enforce "exact hits only"
Common mistakes:
- Chasing speed before hits are consistent
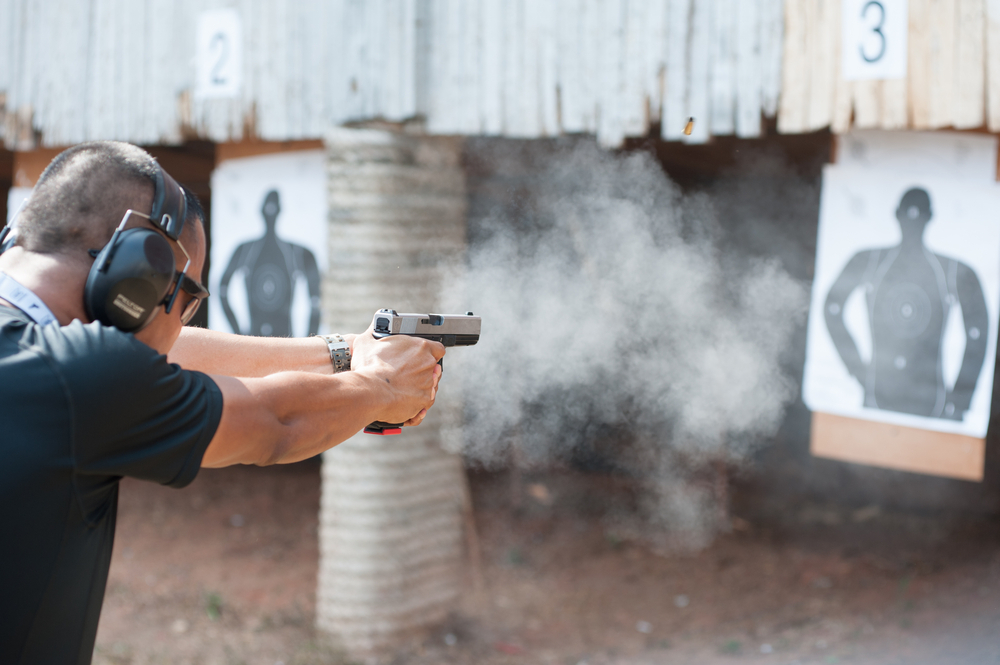
Drill 3: Failure to Stop / Mozambique Drill (Speed + Precision Transition)
This drill is a staple in defensive training. Two shots to the chest zone, one controlled shot to the head zone. For pistols, set up at around seven to ten yards. For rifles, push it out to fifteen to twenty-five yards. Fire the string on the signal, then keep your sights on the target after the last round. That last part matters. Do not drop the gun immediately after the head shot. Stay visually connected to the target and finish the rep with control.
What it builds:
- Fast follow-up shots to center mass
- Controlled precision to a smaller zone
Make it harder:
- Place a small box on the chest and a small card on the head zone—shots only count on those markers
Common mistakes:
- Rushing the headshot and pulling it wide of the scoring zone
Drill 4: Box Drill (Two Targets, Structured Transitions)
The Box Drill builds on Mozambique by adding a second target. Set two targets about a yard apart. Fire two rounds to the chest on target one, transition to target two, and fire two rounds to the chest. Then fire a headshot on target two, transition back, and finish with a headshot on target one. The drill forces you to think about shot order under a bit of pressure—two rounds to chest one, two rounds to chest two, head on two, head on one. It's simple but demanding when you add speed.
What it builds:
- Multi-target transitions
- Precision under a set firing sequence
Make it harder:
- Increase target spacing
- Load partial magazines to force a reload mid-string
Common mistakes:
- Outrunning your sights on transitions
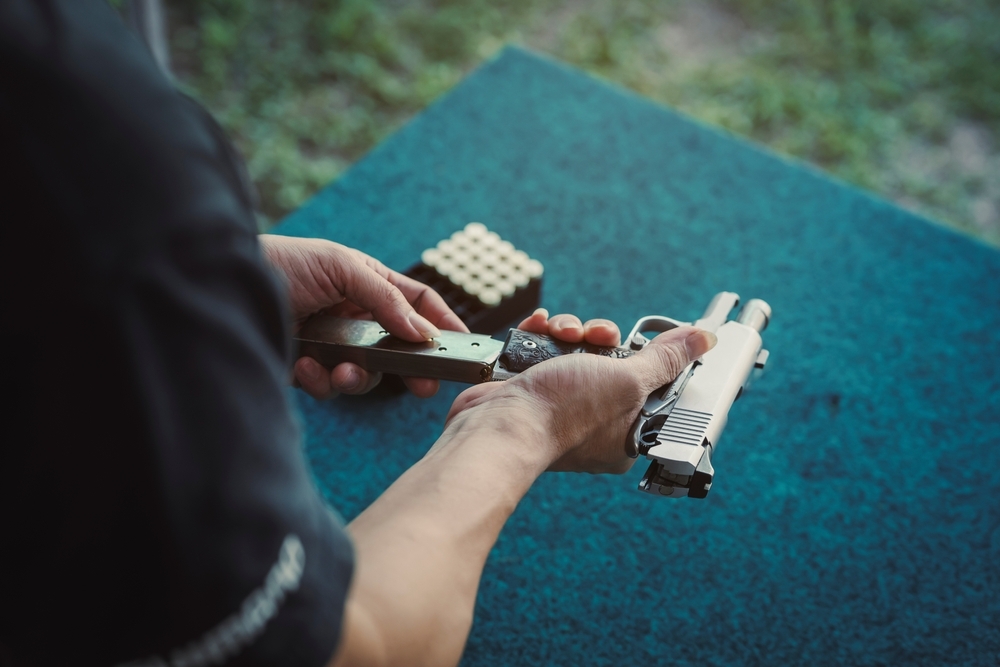
Drill 5: El Presidente (Classic Test of Draw, Reload, and Control)

This is one of the most well-known pistol drills in defensive training circles. Set three targets about one meter apart at ten meters distance. Start facing away with hands up—if your range allows it. On the signal, turn, draw, and fire two rounds on each target. Reload, then fire two more on each target. El Presidente is widely used as a benchmark drill, but times vary a lot based on scoring standard, concealment, range rules, and shooter skill. Rather than treating one number as universal, use it as a repeatable baseline: draw, fire two on each of three targets, reload, then fire two more on each target and track both time and hits from session to session. Turning-start rules also vary by range, so many shooters run it from a forward-facing start instead.
What it builds:
- Draw speed
- Target transitions
- Reload efficiency under time pressure
Make it harder:
- Set a stricter par time
- Tighten scoring zone requirements
Common mistakes:
- Fumbling the reload due to poor mag placement or rushed technique
Drill 6: One-Handed Shooting (Dominant and Support-Hand Control)
Can you shoot accurately with just one hand? Most people are surprised when they first try. Start close—about three to five yards—and fire controlled strings with your dominant hand only. Repeat the same strings with your non-dominant hand. Keep reps short and focus on clean hits over speed. This drill is genuinely useful because real defensive situations don't always give you both hands free.
What it builds:
- Recoil control with one hand
- Contingency skill for real-world limitations
Make it harder:
- Increase distance slowly as hits become consistent
- Shrink scoring zone requirements
Common mistakes:
- Letting the grip collapse mid-string and sending shots wide
Drill 7: Malfunction Clearing (Get the Gun Back in the Fight)
Malfunctions happen. Knowing how to clear them fast and calmly takes real practice. Use snap caps or dummy rounds to set up the malfunction safely. Start in the firing position as if you just fired and need another shot. Then clear based on your platform.
The exact clearing steps depend on the type of malfunction and the platform, so this drill works best when you train the standard procedures for your gun rather than trying to force one sequence onto everything. Use snap caps or dummy rounds where allowed, induce a stoppage safely, then clear it using your platform’s established immediate-action or remedial-action process before finishing the rep. The goal is consistency under pressure, not inventing a new clearing method on the clock.
What it builds:
- Calm, repeatable clearing steps
- Faster recovery under stress
Make it harder:
- Load a dummy round randomly so the malfunction surprises you mid-string
Common mistakes:
- Staring at the gun instead of following a consistent clearing sequence
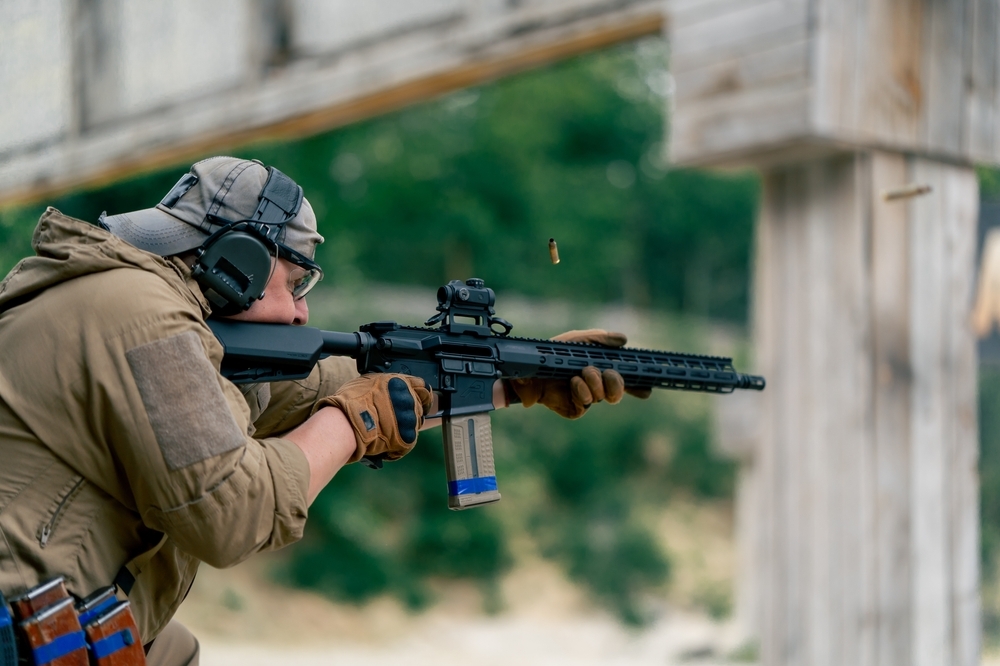
Drill 8: 1 to 5 Drill (Rifle Cadence and Target-Order Thinking)
This rifle drill trains you to put rounds on target until the threat is down—not just fire a double-tap and move on. The VTAC 1-5 Drill is commonly credited to Kyle Lamb. Set three targets about a target-width apart at roughly 5 yards, load 15 rounds, and fire 1 shot on the left target, 2 on the center, 3 on the right, then 4 back on the center, and 5 back on the left. This drill demands that you think and shoot at the same time while managing recoil and transitions cleanly. Use your own hit standard and timer history to set the benchmark rather than assuming one universal goal time.
What it builds:
- Recoil control at speed
- Thinking under pressure
- Smooth transitions across multiple targets
Make it harder:
- Tighten scoring zones
- Reduce split times only after hits are consistent
Common mistakes:
- Turning it into an uncontrolled burst instead of a disciplined cadence
Drill 9: Sage Dynamics Eleanor (Optic Speed + Precision Close-In)

This drill is built for red-dot users on pistols and rifles. It uses the Eleanor target, which combines a 1-inch dot and a reduced A-zone style scoring area. With a pistol, the drill is typically run from 3 yards from the holster. With a rifle, it is typically run from 5 yards from low ready. On the signal, fire one round at the 1-inch dot, then three rounds into the reduced scoring area. The standard par time is 2.5 seconds. The drill also tests height-over-bore awareness at close range, especially on the rifle side.
What it builds:
- Fast sight acquisition with a red dot
- Close-range accuracy
- Height-over-bore awareness
Make it harder:
- Tighten the par time
- Require every shot in the scoring zone with no exceptions
Common mistakes:
- Forgetting about offset and missing the intended aim point on the close dot
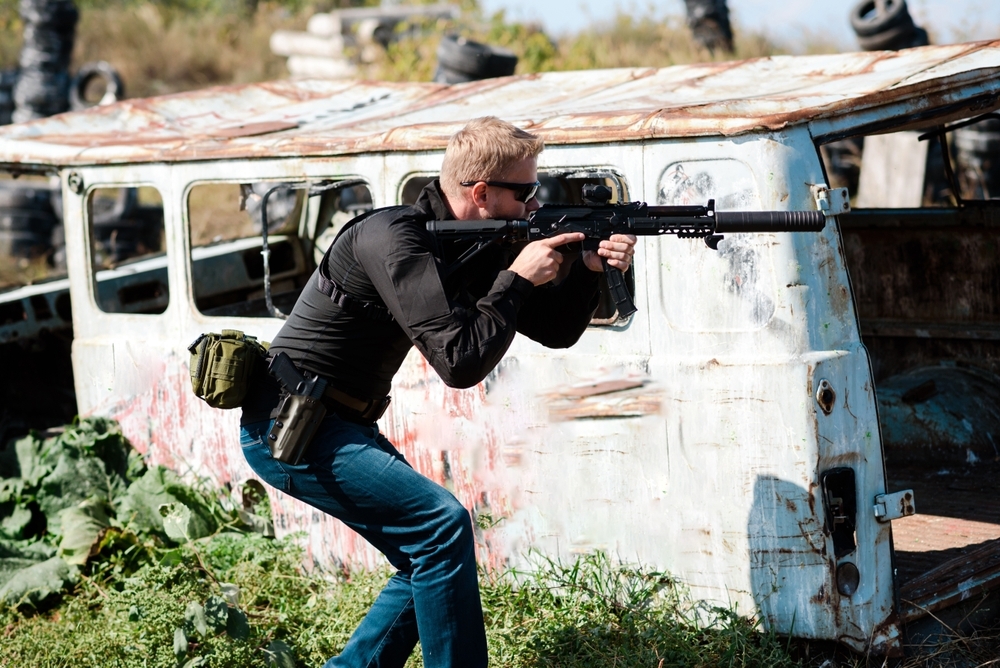
Drill 10: Shooting and Moving Multidirection Live Fire (Movement + Footwork)
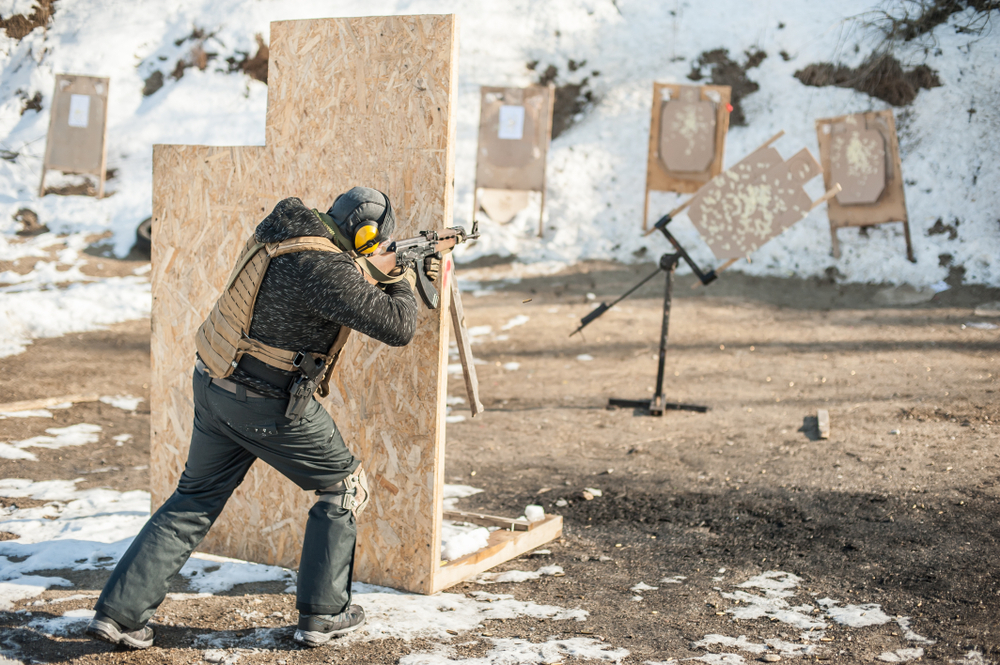
Only run this one if your range explicitly allows movement and you can do it safely without breaking muzzle discipline. Set two obstacles a few feet apart and move in a controlled pattern, such as a slow figure-eight, while engaging a target at about 15 yards. The focus is on stable footwork, clean muzzle management, and accurate hits, not raw speed. Dry-practice the footwork first before attempting it live.
What it builds:
- Movement without losing accuracy
- Footwork discipline and muzzle awareness
Make it harder:
- Use a smaller scoring zone
- Increase target distance only after hits stay consistent
Common mistakes:
- Crossing the feet, losing balance, or letting the muzzle drift in an unsafe direction
Drill 11: Shotgun Casino Drill (Time Pressure + Reload Decision-Making)

This is one of the best drills for shotgun training. Set four targets in a row at about 5 yards, typically spaced about a yard apart. Set a par time of 30 seconds. Start with four rounds loaded in the shotgun. Fire 1 round on target 1, 2 on target 2, 3 on target 3, and 4 on target 4 for a total of 10 rounds, reloading as needed during the run. The challenge is not just the round count. It is keeping target order, ammunition management, and shot accountability together under time pressure.
What it builds:
- Target transitions
- Recoil management
- Reloading under a fixed par time
Make it harder:
- Cut the par time
- Require tighter hit zones on each target
Common mistakes:
- Poor ammo management and wasted motion during reloads
Drill 12: Shoot Two – Load Two (Shotgun Sustainment Loading Mastery)
This is the foundational shotgun reload drill. Start at about ten yards with a few shells in the tube and extra shells staged on your body or gun. Fire two rounds, then load two shells. Keep the gun pointed downrange during the reload. Repeat the cycle multiple times and track your time per cycle. The more you repeat it, the faster and cleaner your hands get. This drill is what separates people who can run a shotgun from those who just carry one.
What it builds:
- Efficient "load while running" capability
- Repetition-based speed and confidence
Make it harder:
- Track time per cycle and cut downtime between firing and loading
Common mistakes:
- Poor hand positioning during loading or breaking muzzle discipline mid-reload
How to Make Any Drill Harder Without Getting Sloppy
Progression matters, but clean reps matter more. Here's how to add difficulty the right way:
- Tighten scoring zones first—then lower par times.
- Increase distance only after you pass consistently at your current distance.
- Add complexity in one dimension at a time: smaller target OR faster time OR longer distance OR movement.
- Set a pass/fail standard before every run. If you miss the zone, the rep doesn't count.
A Simple 4-Week Training Plan (Repeatable and Measurable)
Week One – Fundamentals and Baseline
Trigger Control and Grip, Dot Torture, Malfunction Clearing, Failure to Stop.
Week Two – Transitions and Reload Efficiency
Box Drill, El Presidente, Malfunction Clearing, One-Handed Shooting.
Week Three – Rifle Cadence and Optics Precision
The 1 to 5 Drill, Eleanor, Box Drill on a rifle, Malfunction Clearing.
Week Four – Shotgun Focus and Validation
Shoot Two – Load Two, Shotgun Casino, Failure to Stop (shotgun optional), and one fundamentals drill—Dot Torture or Trigger Control.
Frequently Asked Questions (FAQ)
How many drills should I run in one range session?
Four is ideal: one fundamentals drill, one accuracy-under-speed drill, one transitions or reload drill, and one platform-specific drill.
Do I need a shot timer?
Strongly recommended. A shot timer makes progress measurable and keeps training honest. If you do not have one, a timer app or even a basic stopwatch is still better than guessing, but a dedicated shot timer remains the better tool for live-fire drills.
What if my range doesn't allow movement or turning drills?
Run the same drills from low ready and save footwork practice for dry work at home.
How do I choose between pistol, rifle, or shotgun drills?
Choose based on your current goal: accuracy, reload speed, malfunction clearing, transitions, or movement.
Are snap caps safe for malfunction drills?
Yes—when used correctly and with strict range safety rules followed throughout every rep.
Final Thoughts
Strongly recommended. A shot timer makes progress measurable and keeps training honest. If you do not have one, a timer app or even a basic stopwatch is still better than guessing, but a dedicated shot timer remains the better tool for live-fire drills.
Live fire drills are critical for testing your performance, but the real gains often happen between range sessions. If you want to accelerate your progress, incorporate Dry Fire Drills into your training routine to build skills that carry over to live fire.</p

STERLING 9MM 115GR FMJ STEEL CASED
$10.73
at Pro Armory
Prices accurate at time of writing
About the Author
This article was written by the ProArmory writing team based on current research, including studies from reputable sources like the *Journal of Military Science*, *Firearms News*, and the *National Shooting Sports Foundation*. We also referenced trusted information from official defense publications and respected firearm authorities such as the ATF, NRA, and manufacturer manuals.
Disclaimer: Follow all local, state, and federal laws before purchasing or using any firearm or accessory. Range rules vary by location—always confirm what drills are permitted before running them. Any defensive setup should be tested thoroughly with the exact equipment and ammunition you plan to use.
Best Ammo Deals, Training, & Accessories
Subscribe to ProArmory sales and deals email.


")
")


 for Faster Split Times")